The Ceiling Stain Is a Rumor: How to Find the Real Roof Leak
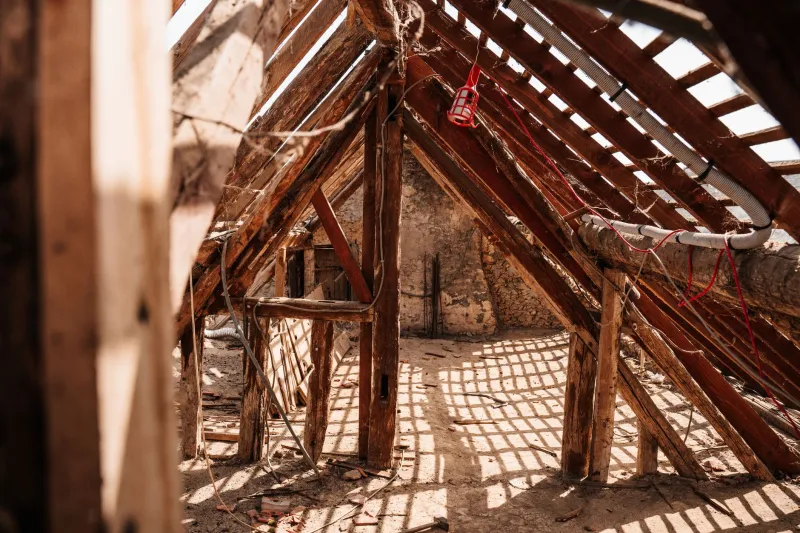
A ceiling stain has a way of making a homeowner feel like the roof is failing directly above it. Sometimes that is true. Often it is not. Water is patient and sneaky: it slips through a flashing joint, runs along a rafter, soaks into decking, and finally shows up on your ceiling several feet from the actual entry point. If you pay someone to patch the drywall or replace shingles right above the stain, you may be buying a temporary fix for the wrong problem.
This is the homeowner's version of tracing a leak backward. You do not need to become a roofer. You do need to slow down, gather clues, and avoid the expensive misdiagnoses that turn one leak into three service calls.
Start With the Stain, Not at It
Before anyone touches the ceiling, document what you see. Take a wide photo of the room and a close-up of the stain. Use a pencil to lightly outline the current edge. Check it after the next rain. Is it growing? Darkening? Only appearing during wind-driven storms? Does it come back when snow melts?
Those details matter because they point to different suspects. A stain that grows after a hard rain from the east may connect to a wall flashing issue. A stain that appears during cold snaps may be condensation or an ice dam. A stain near a bathroom may have nothing to do with the roof at all.
Also look for sagging, bubbling paint, or soft drywall. If the ceiling feels spongy or water is actively dripping near a light fixture, shut off power to that area and call a professional right away. That is not a wait-and-see situation.
The Attic Is the Crime Scene
The attic is where the real story usually lives. Go up with a flashlight, a moisture meter if you have one, a camera, gloves, and chalk. Do this in daylight or with safe lighting, and walk only on solid framing. If your attic is cramped, hot, or hard to access, stop and let a pro handle it.
Start uphill from the ceiling stain. Water almost never drops straight down through a roof assembly. It follows gravity along the underside of decking, rafter sides, or top plates. Look for dark water trails, rusted nail heads, white efflorescence, mold, or insulation that is compressed and damp.
A moisture meter is worth the $30 to $60 for a basic pin-type model. It will not tell you the whole story, but it helps you separate a cold, dry rafter from one that is actively holding water. Scan the sheathing uphill from the stain, then work outward along nearby framing.
Follow the Framing, Not Your Assumptions
One of the most common mistakes is assuming the leak is directly above the stain. Instead, follow the lumber. Water can travel along a rafter for ten or fifteen feet before it finds a gap and drips. Check where rafters meet walls, around chimney framing, under valleys, near ridge vents, and along any roof-to-wall intersection.
Pay special attention to penetrations: plumbing vents, furnace flues, skylights, satellite mounts, and chimney flashing. These are common entry points, and they are also common places where a previous repair was done with too much sealant and not enough flashing.
Mark suspect areas with chalk. Take photos with a tape measure in frame so you can show a contractor exactly where you were looking. A good leak investigation is part treasure hunt, part note-taking.
The Hose Test: Controlled, Not Chaotic
A hose test can confirm a suspect, but it can also create a mess if you spray the whole roof like you are washing a car. Do it with two people: one in the attic watching, one on the ground or ladder with the hose. Start low and work uphill in small sections, giving each area ten to fifteen minutes. Watch for a drip or a change in moisture readings.
Do not hose-test a fragile roof, a steep roof, or anything you are not comfortable walking. And do not use a pressure washer. The goal is gentle, controlled water in one suspected area, not a simulated hurricane.
The Misdiagnoses That Cost Twice
The most expensive roof repair is the one that fixes the wrong thing beautifully. Here are the repeat offenders:
- Patching the stain instead of the source. Paint and drywall compound hide evidence. Fix the roof first, then repair the ceiling after the leak is verified dry.
- Replacing shingles above the stain. If the entry point is a chimney flashing or skylight curb, new shingles will not solve it.
- Sealing everything. Smearing roof cement around vents and flashing can trap water and make the real problem harder to find.
- Blaming the roof for condensation. Bath fans, dryer vents, and poor attic ventilation can create moisture that looks like a leak. A roof inspection should rule this out.
- Ignoring plumbing and HVAC. A ceiling stain near a bathroom or air handler deserves a second look before anyone climbs on the roof.
When to Stop and Call for Backup
If you find active water near electrical wiring, widespread mold, a sagging ceiling, or a leak you cannot reproduce after two careful attempts, bring in a professional. A five-star roof inspection should include an attic review, photo documentation, and a written explanation of the likely entry point, not just a bid to replace shingles.
At 10 Stars Roofing, we would rather trace the leak correctly once than sell you the same repair twice. The ceiling stain is a rumor. The roof leak is the story. Find the story before you pay for the ending.